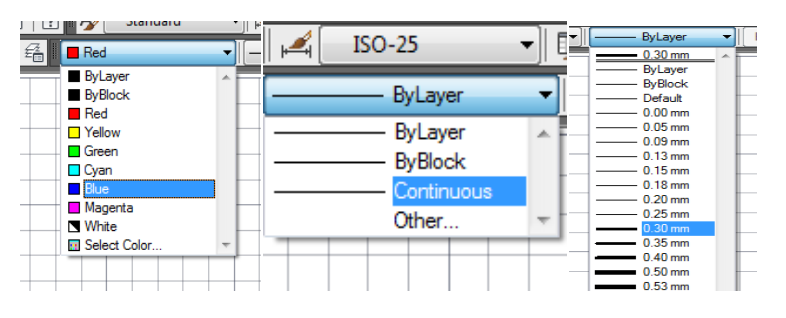
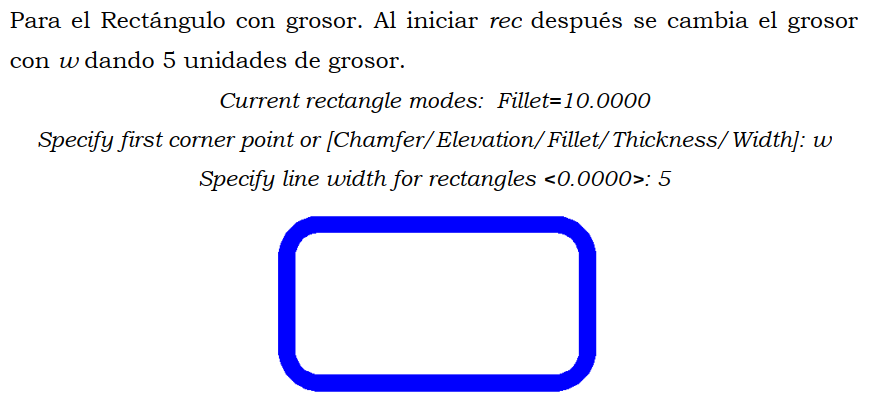
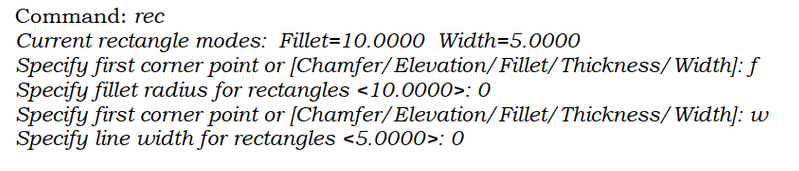
La figura que se forma es con puntas redondeadas por fillet y con un grosor de 5 unidades.
Regresa la configuración del grosor o ancho de línea a cero, y la punta redondeada a cero.
Para restablecer al rectángulo normal, se debe hacer que fillet y width sean cero nuevamente y trazar el nuevo rectángulo. Esto es,

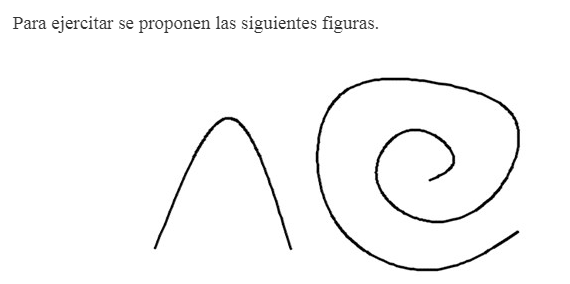

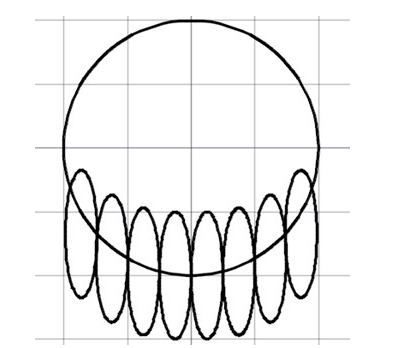
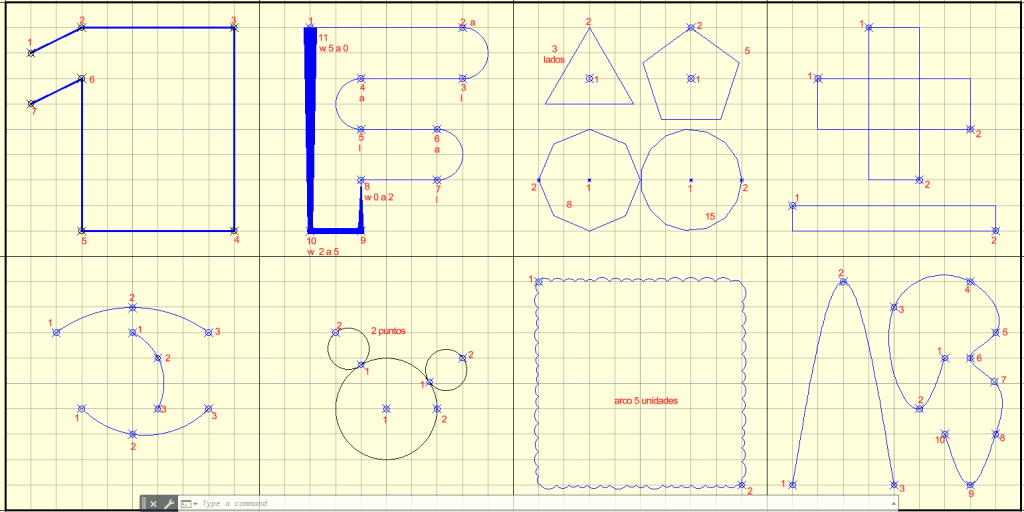
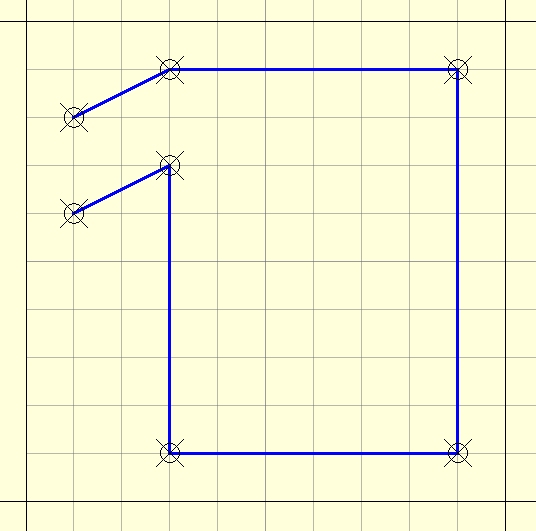
Dibujo 5. Elabora las siguientes figuras con ayuda de las funciones rejilla, snap y ortho.
Procedimiento primer figura, utilizando coordenadas absolutas
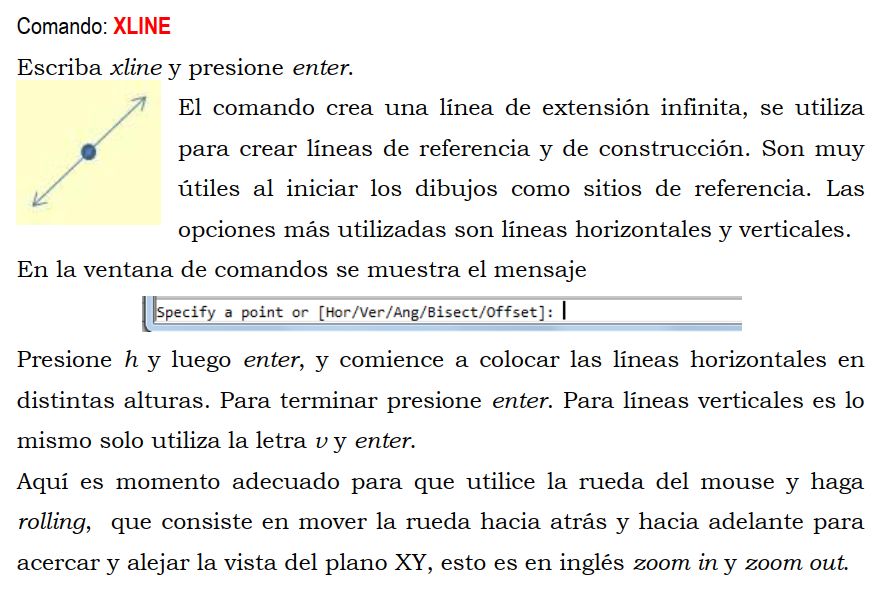
Command: XL
XLINE
Specify a point or [Hor/Ver/Ang/Bisect/Offset]: h
Specify through point: 200,200
Specify through point:
Command: XL
XLINE
Specify a point or [Hor/Ver/Ang/Bisect/Offset]: v
Specify through point: 0,0
Specify through point: 100,100
Specify through point: 200,200
Specify through point: 300,300
Specify through point: 400,400
Specify through point:
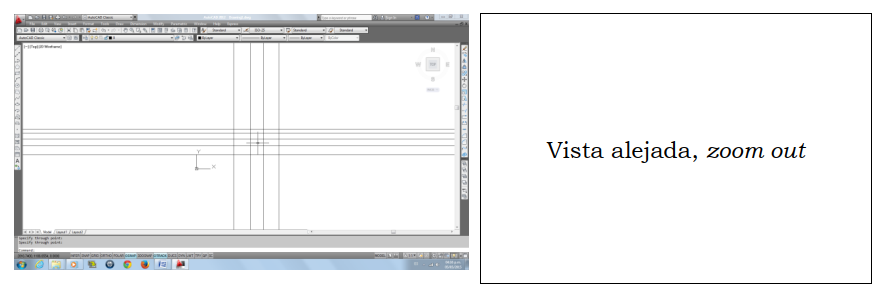
Command: GRID
Specify grid spacing(X) or [ON/OFF/Snap/Major/aDaptive/Limits/Follow/Aspect] <10.0000>: l
Display grid beyond Limits [Yes/No] : n
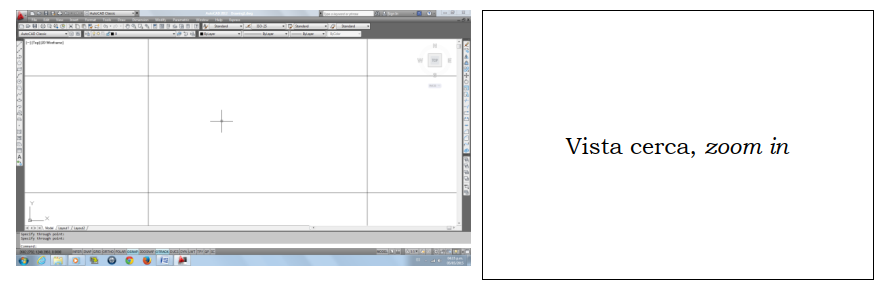
Command: ZOOM
Specify corner of window, enter a scale factor (nX or nXP), or
[All/Center/Dynamic/Extents/Previous/Scale/Window/Object] : w
Specify first corner: 0,200
Specify opposite corner: 100,100
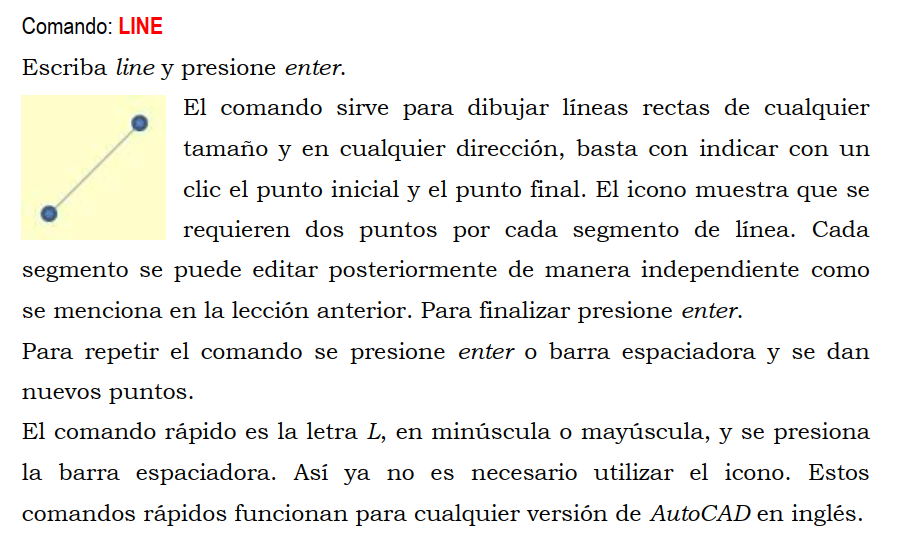
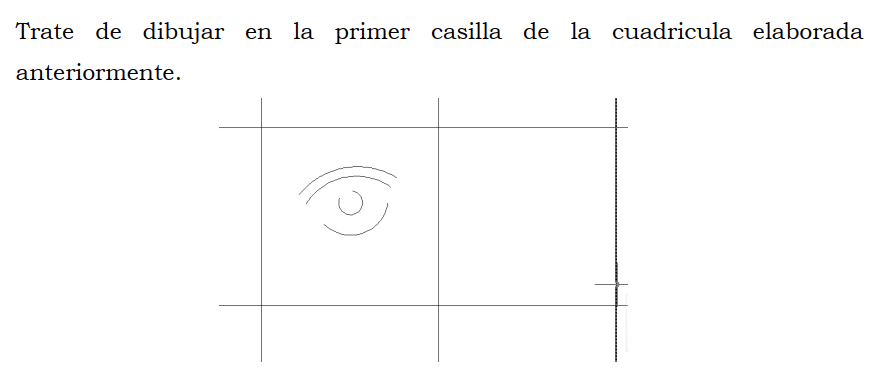
Command: LINE
Specify first point: 10,180
Specify next point or [Undo]: 30,190
Specify next point or [Undo]: 90,190
Specify next point or [Close/Undo]: 90,110
Specify next point or [Close/Undo]: 30,110
Specify next point or [Close/Undo]: 30,170
Specify next point or [Close/Undo]: 10,160
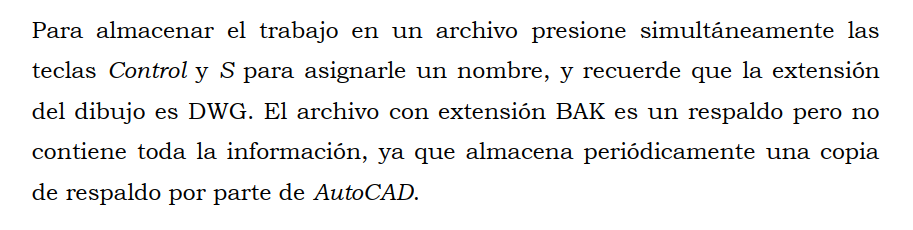
Almacenar o guardar dibujo